LEARN MUSIC AND AUDIO PRODUCTION | Wavmonopoly TIPS AND TRICKS
How To Use Autotune Like A Pro | Autotune Ultimate Guide
wavmonopoly June 22, 2022

AutoTune at its core is a pitch corrector. It is a software program that alters the pitch of a singer’s voice. It has been used by singers and producers for years to help them achieve pitch-perfect vocals. While some people use Auto-Tune to create robotic-sounding vocal effects, it can also be used to subtly improve the tone of a vocal performance. In this article, we will discuss how to use Auto-Tune and tips for getting the best results.
Autotune has made it possible to get perfect vocal takes. In the past, singers would have to sing a song multiple times and hope that they got a good take. All you need is one good take, and autotune will make sure that your vocals are pitch-perfect.
What exactly is Auto-tune?
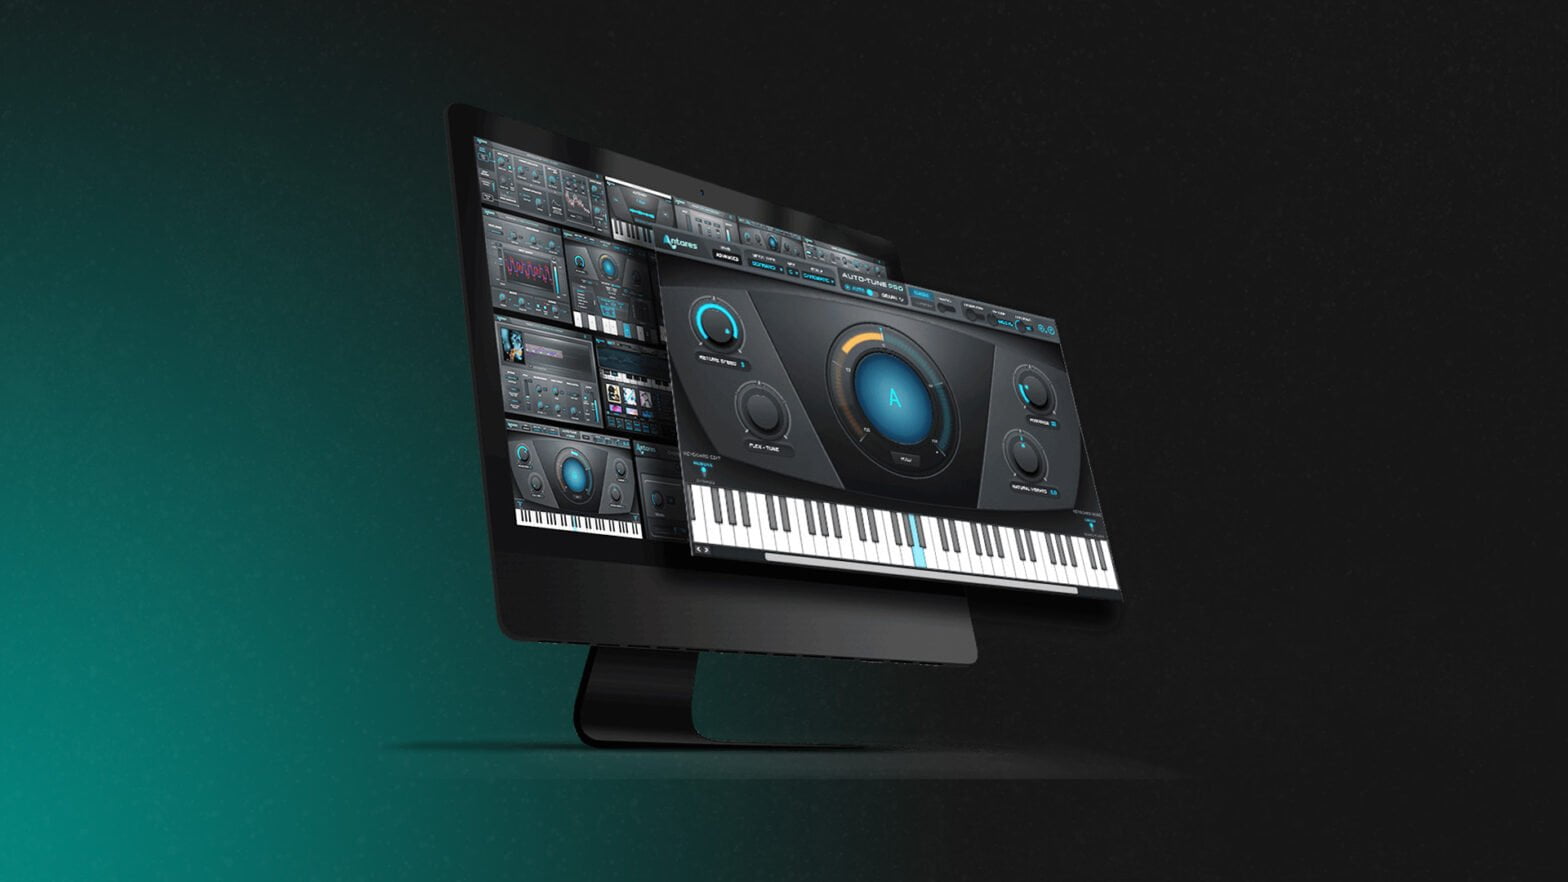
 Auto-tune is a program created by Antares Audio TechnologiesAntares Audio Technologies that helps to correct pitch and time in vocal and instrumental performances. It works by analyzing the incoming signal of an instrument or voice and shifting the pitch and correcting the vocal to the nearest notes in the key and scale.
How is Autotune Used In Music
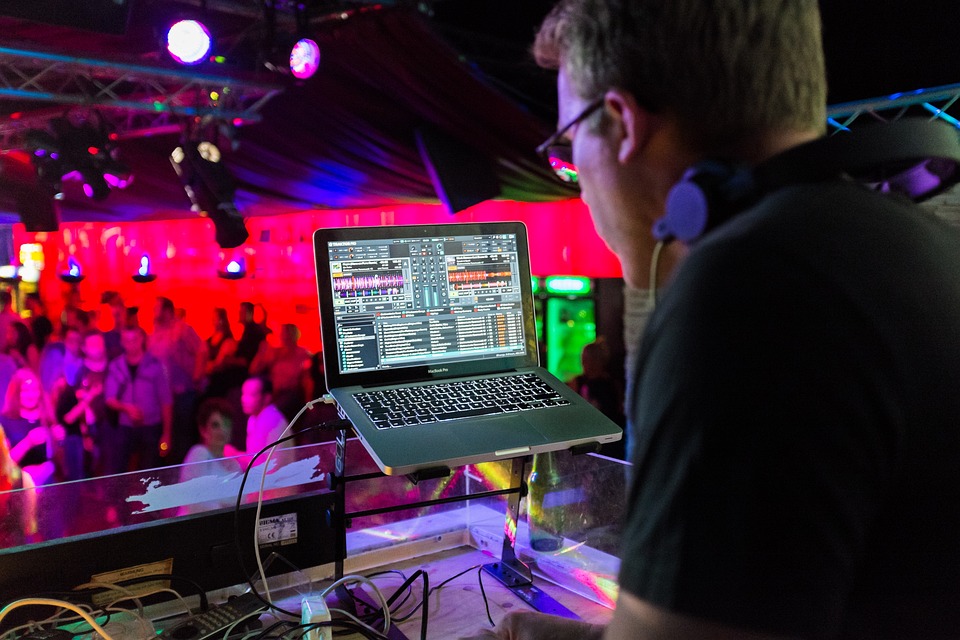
Autotune has many more uses than most think. Whether it is a live performance or post-production, we find autotune on most records of today. It is used as a VST plugin in many different daws like Pro-Tools, Logic Pro X, FL Studio, Ableton, Studio One, and more.
Autotune has become so popular that it is often used in place of the word pitch correction.
We use auto tune in our Wav Monopoly Vocal Preset Templates because it is the best sounding pitch corrector and industry-standard today.
Different Way To Use Autotune
Create Special Effects
Auto-tune can also be used to create special effects with voices and instruments, such as making a voice sound “robot-like” or even making it sound deeper like Darth Vader from Starwars.
Adjust Pitch during recording
Auto-Tune can be used to do real-time pitch correction during the recording process. This is especially useful when an artist is singing because it gives you confidence knowing you are hitting the notes you are trying to hit. Not only does it give you confidence when recording but it also allows you to experiment with different melodies. Simply open Auto-Tune and mumble the first melodies that come to your head and that can be the start of your next hit.
Correct Pitch of Pre-Recorded Audio
Auto-Tune can be used to correct the pitch of pre-recorded vocals. This is useful for fixing recordings where the singer’s pitch is off, or for creating interesting effects. To use Auto-Tune, first load the sound file into your DAW. Then, select the track that you want to apply Auto-Tune to and click on the “Effect” button. Next, select “Auto-Tune” from the list of effects. Finally, adjust the settings to taste and click on the “OK” button. That’s all there is to it! Now you know how to use Auto-Tune to correct pitch in pre-recorded sounds.
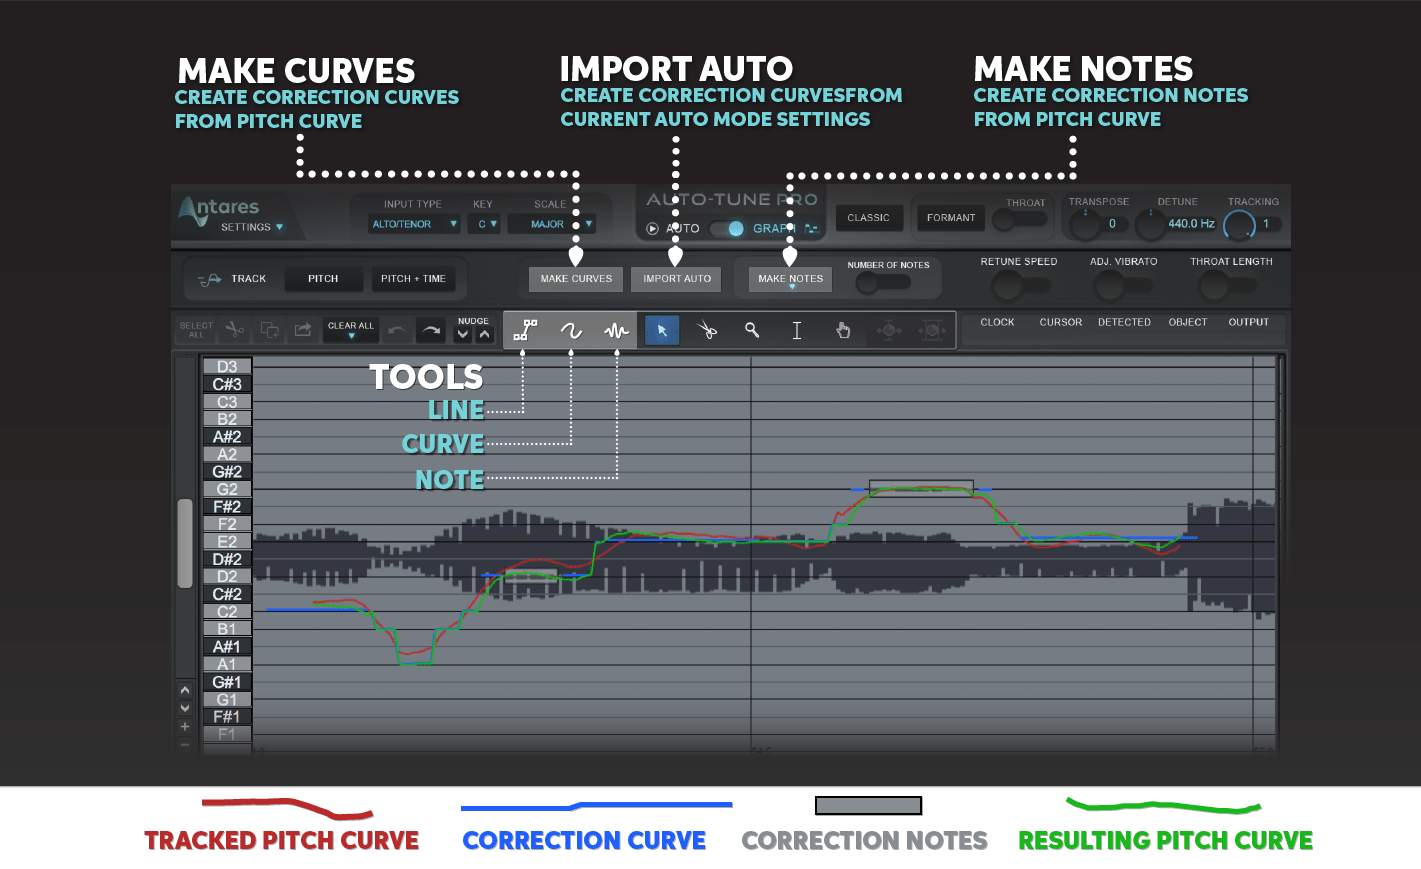
Correct the Pitch Manually Using Graph Mode
Using the graphical mode allows the pitch correction effect to be less noticeable. It also allows you to get surgical with correcting the pitch as you can fine-tune every note manually to get any pitch you desire.
When you first open Auto-Tune, you will see a screen with two different options. At the top, there are two options: “Auto” and “Graph”. To correct the pitch manually, you will need to be in the “Graph” mode.
How to use AutoTune?
Follow these steps to use Auto-Tune like a pro (Using Auto-Tune Pro):
Select the right input
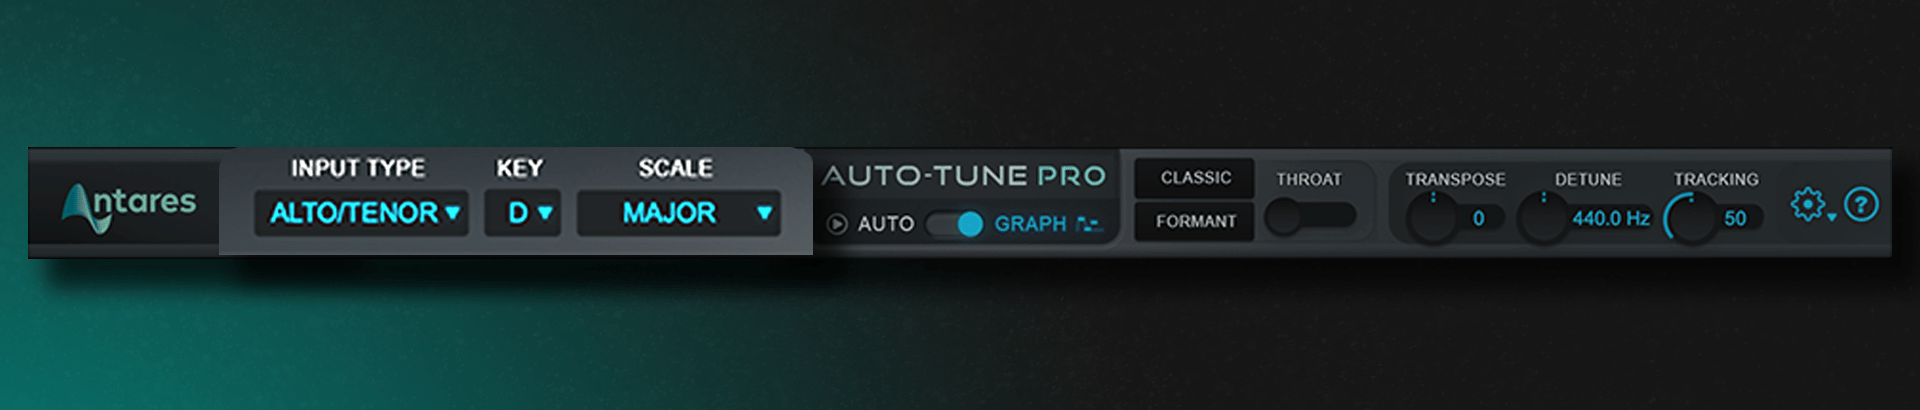
This is important because you want to make sure that the software is receiving the right signal from your voice or instrument plug-in. If you’re not getting a good signal, then the results will be less than stellar. The input types are soprano, alto/tenor, Low Male, Instrumental, and Bass instruments.
Choose the input based on the voice type that you are tuning. If it is an extra high male voice or a high female voice then go with soprano. And Vice versa, If it is a sweet tone male voice or female voice then go with the alto/tenor option. Of course, if it is a lower tone male voice then go with the low male option, and so on.
Now that you’ve selected the right input, it’s time to use some more options.
Select the right key and scale options in Auto-Tune
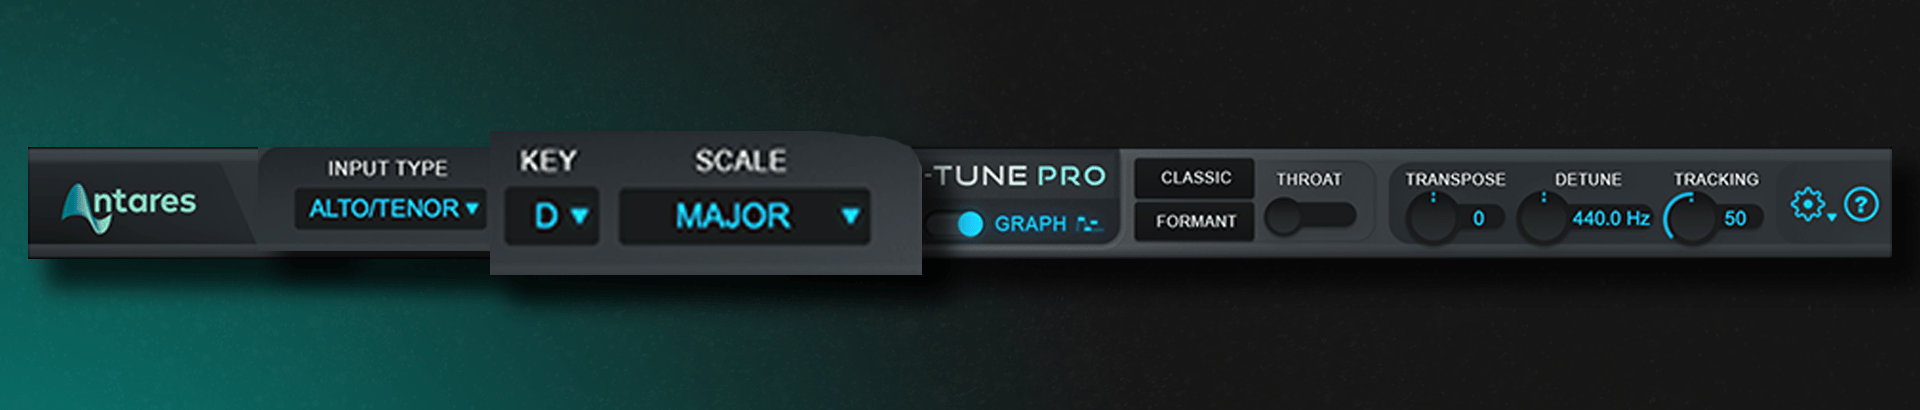
Now it’s time to choose the key and scale. Whether it is a minor or major scale, this step is vital. We want to choose this to make sure that the plugin is choosing only the note in the key of the song to minimize any out-of-key notes during the vocal performance. This is one of the most important parts of making sure that our tuning comes out the way we want it to sound. To choose the correct key and scale, we must find out what root key and scale our song is in.
How do you find the key of a song
The key of a song is usually determined by the first note of the melody, so if you’re not sure what key your song is in, try playing the melody and seeing which note sounds best as the starting point.
You can also find it by using Auto-Key by Antares. Or you can use our free key finder as well which is a tool we made to make this process easier for you.
Autotune Classic Mode On or Off
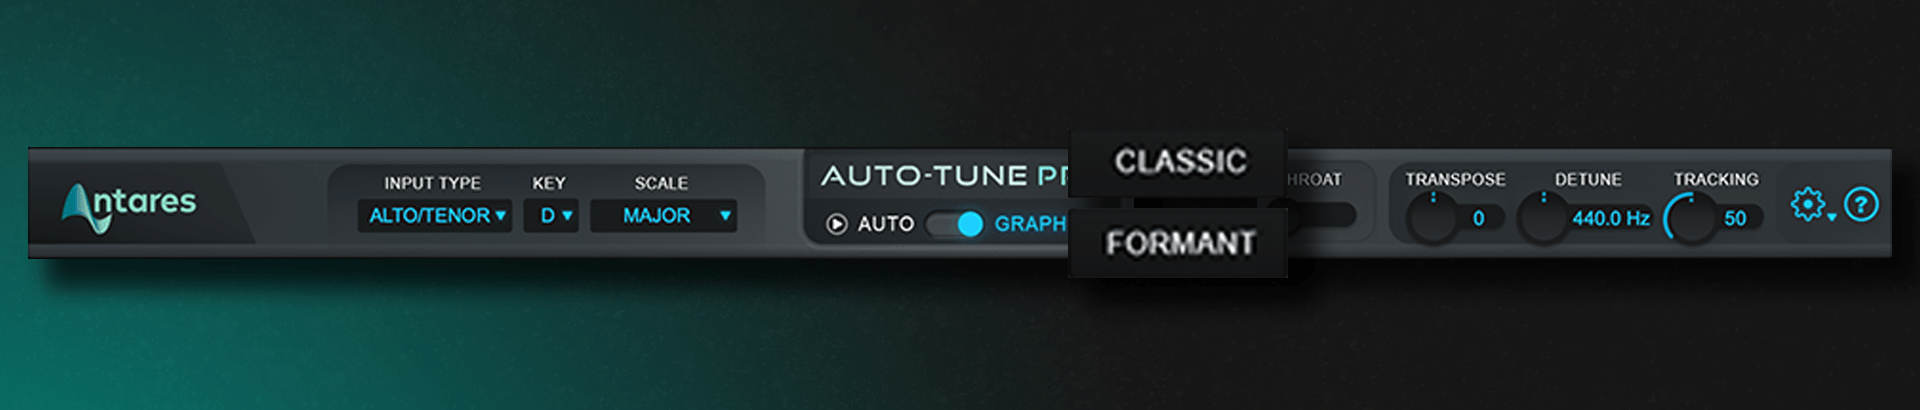
Classic mode is a setting in Auto-Tune that changes the algorithm of the entire plugin. Since Auto tune has made many new changes to the software, the algorithm has changed over time with it. But some engineers preferred the old sound of the previous auto-tunes, so this option will trigger an older algorithm of autotune when this is engaged.
This can also come in handy when pulling up on sessions that used the older autotune and need the specific sound.
Adjust Throat and Formant Settings
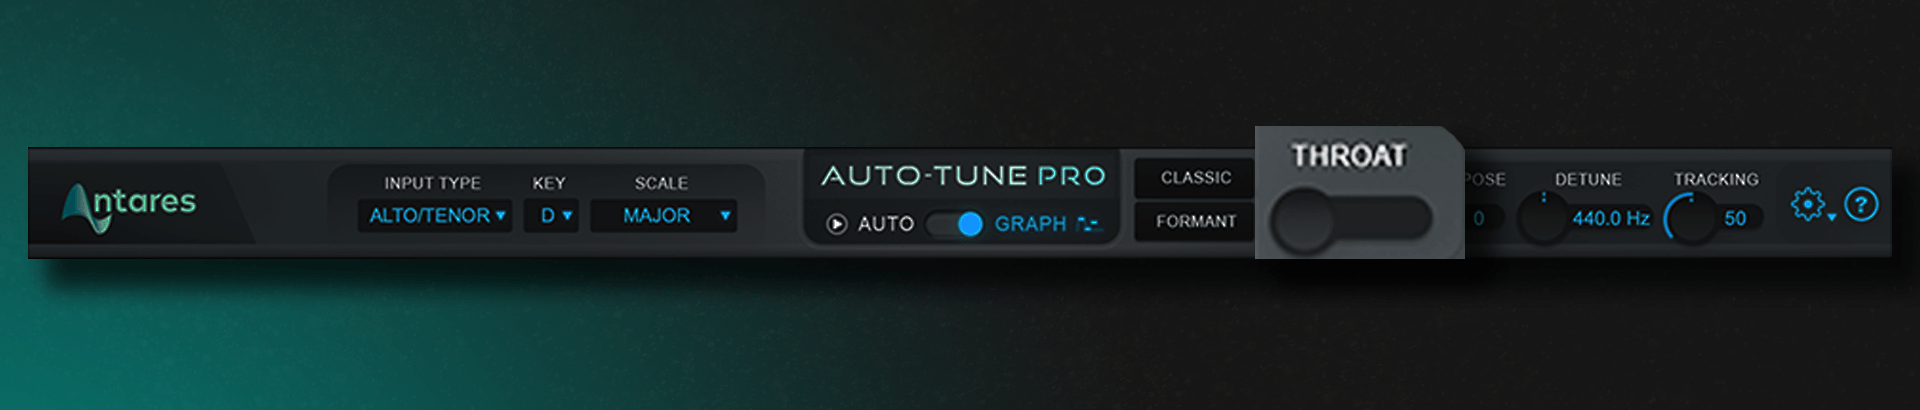
The Throat and Formant settings in Auto-Tune are used to adjust the timbre of your voice. If you want a more natural sound, then you should leave these settings at their default values. However, if you want to experiment with the sound of your voice, then feel free to play around with these settings.
Select Auto or Graph Option
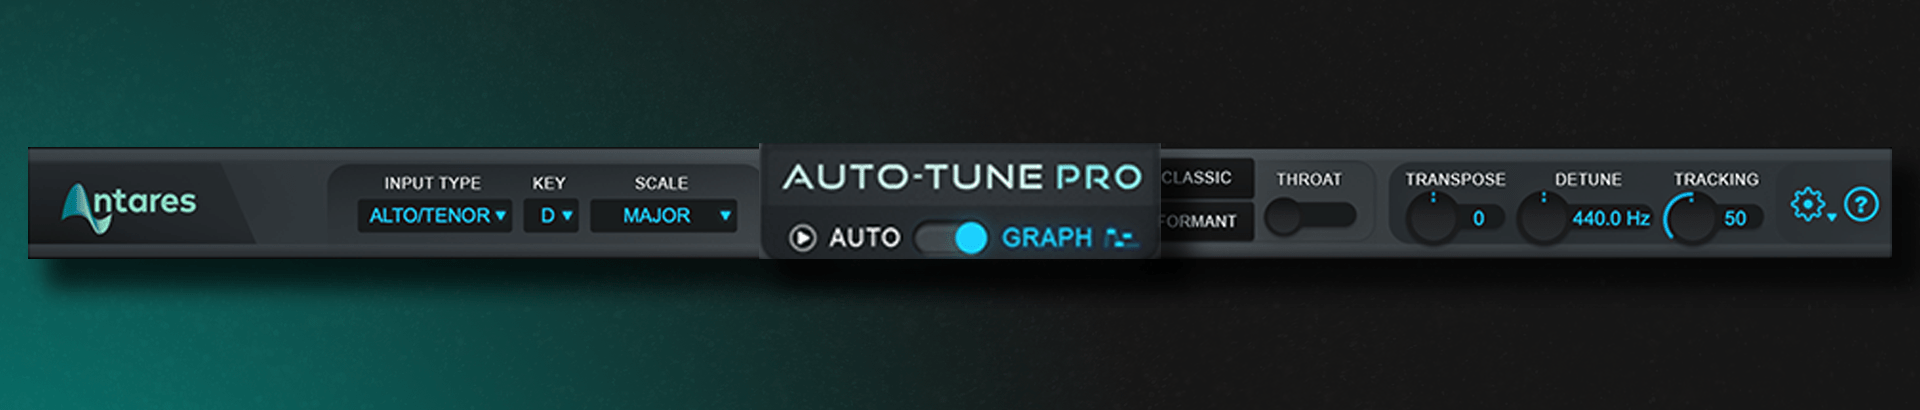
In Auto-Tune, you can choose between the “Auto” and “Graph” modes. If you want the software to automatically correct your pitch, then you should select the “Auto” mode. However, if you want more control over the correction process, then you should select the “Graph” mode.
Leave Transpose as is
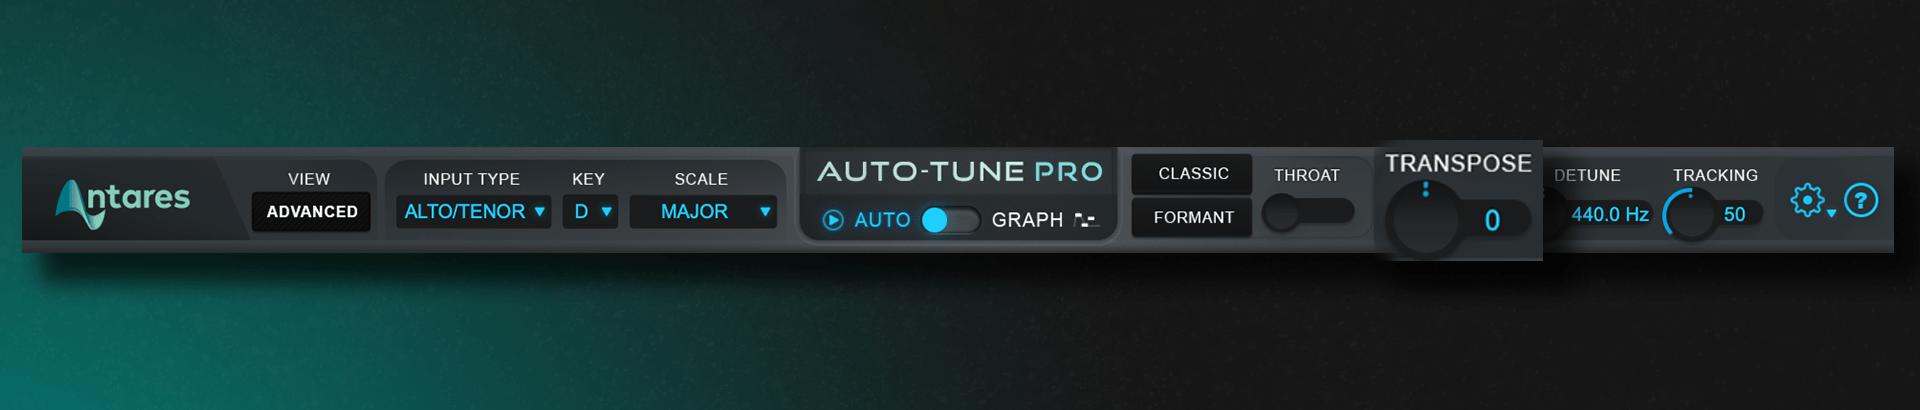
The “Transpose” setting in Auto-Tune should usually be left at its default value of “+0”. Only change this setting if you’re sure that you need to.
Adjust Detune Settings
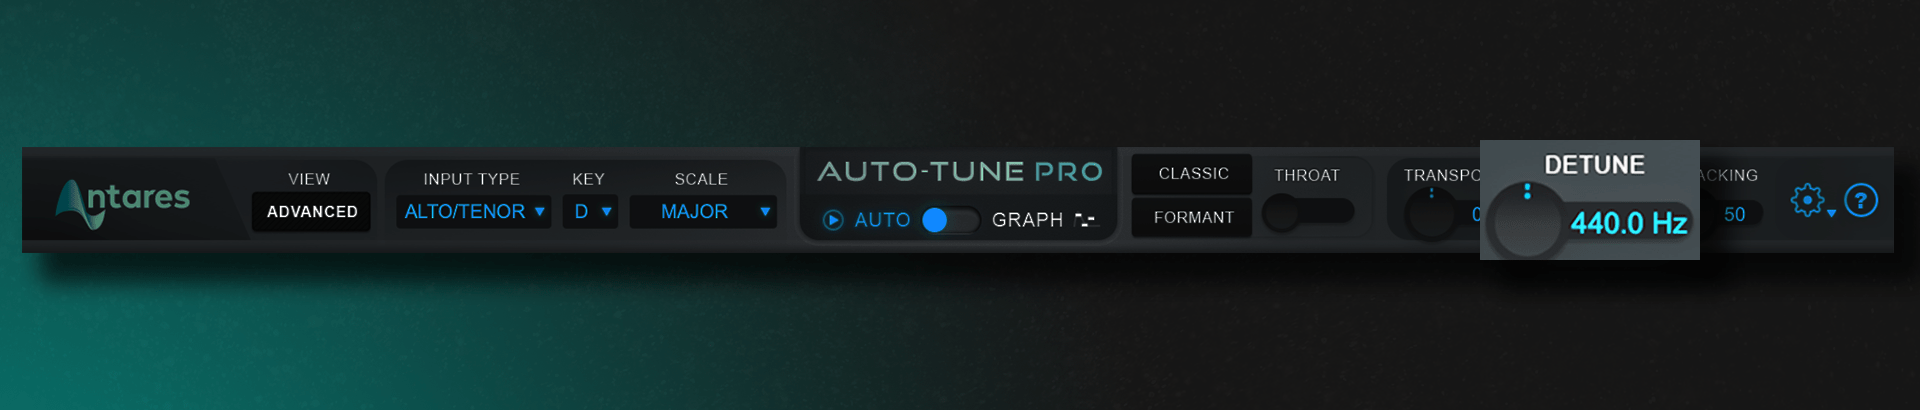
The “Detune” settings in Auto-Tune are used to slightly detune the pitch of your voice. This would most likely be used if the key reference frequency is different from the default 440 Hz. Since most of the music we listen to today is based on the 440 Hz frequency, there won’t be many situations in which this would be changed. So, be careful, you can easily detune your voice too much and end up with a horrible-sounding result.
Adjust Tracking option
![]()
The “Tracking” setting in Auto-Tune is used to control how responsive the software is to pitch changes. If you recorded the vocals in a clean professional studio environment then you can move the value up from 50. But vice versa, if the environment has a lot of background noise then it might be best to lower the value a little bit.
If the auto-tune ever sounds funny then play with this knob and see if this could be the issue.
Adjust Retune Speed
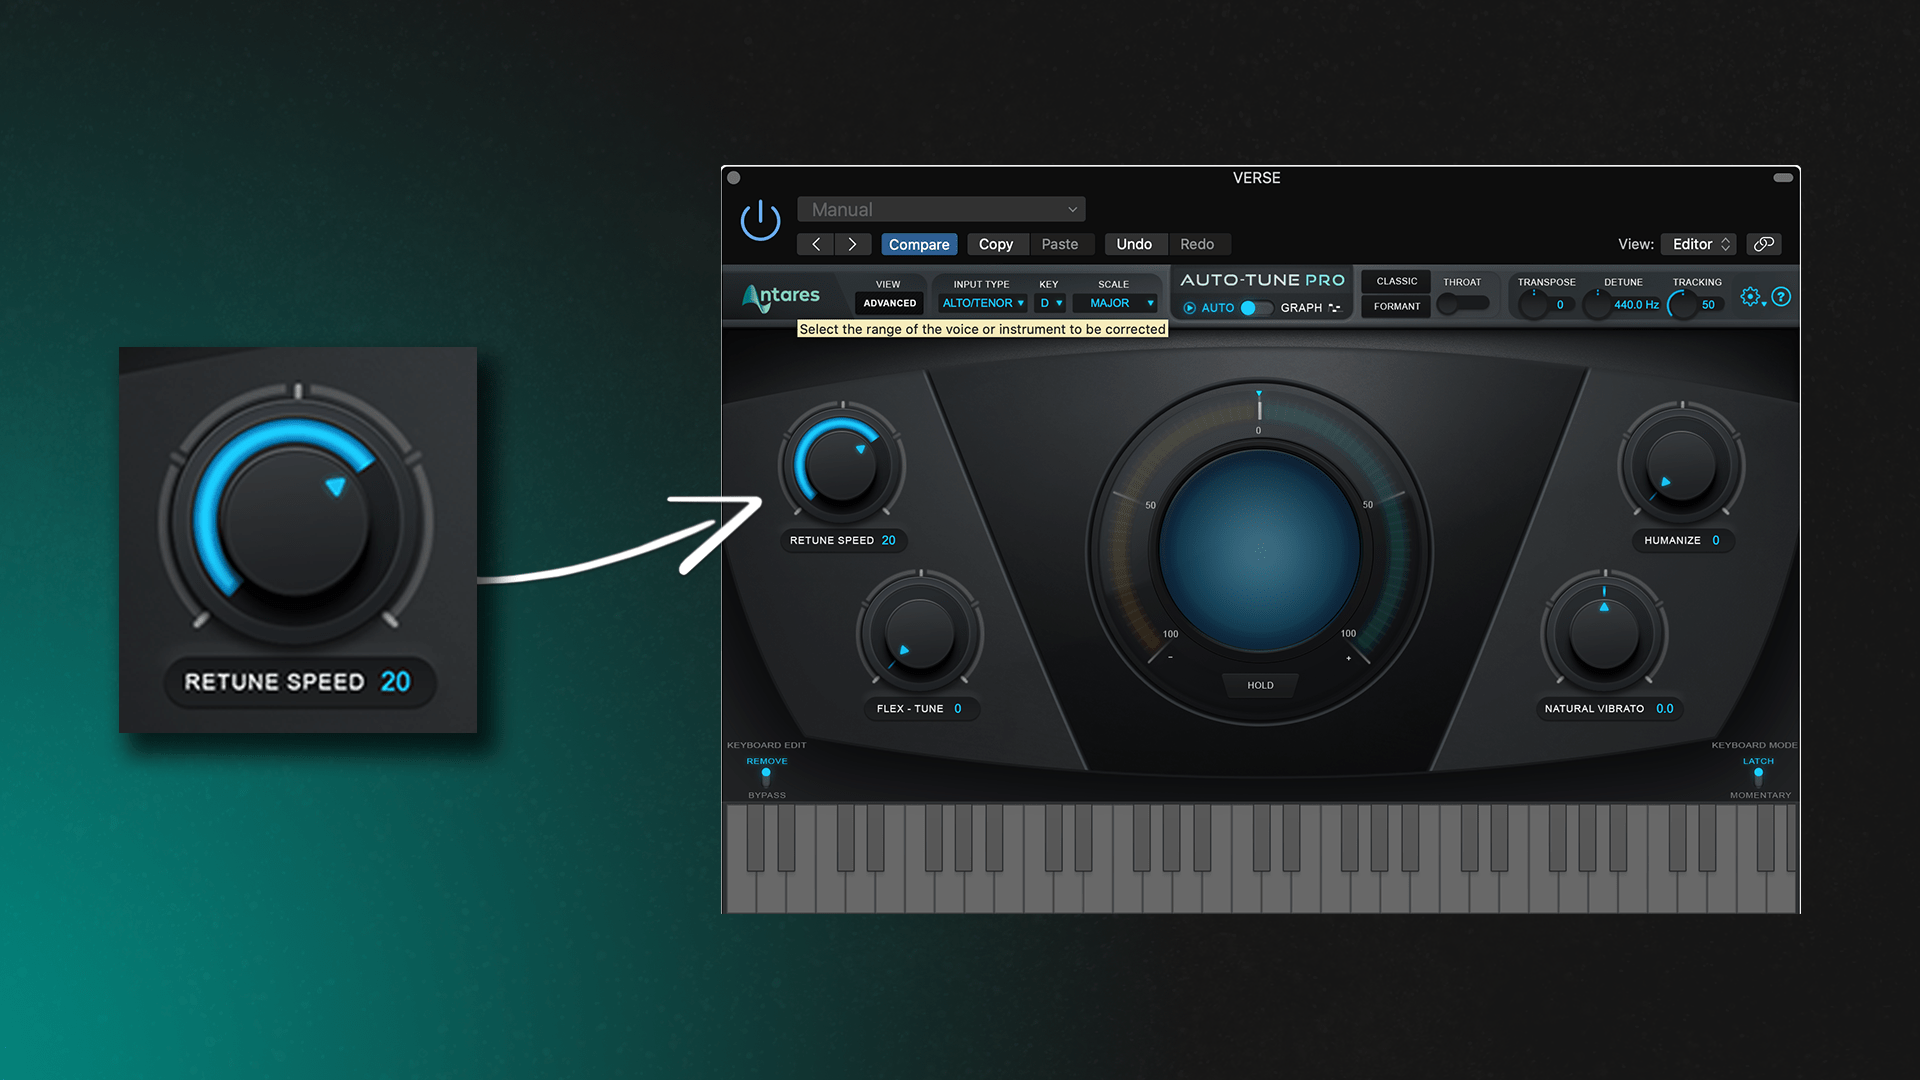
This is the main control in the auto tune plugin. The retune speed that determine how fast or slow the plugin will correct the closest note to the correct pitch.
This knob control how much of the effect will be heard. When placed at the value of 0, you will hear the plugin give you a robotic-type effect like T-Pain, Cher, or Travis Scott.
On the other hand, If you want a more natural-sounding voice, then you should leave raise the setting higher. This will make the auto tune correct the notes slower thus being less noticeable when in use.
If it is a ballad song then you should use a slower retune speed because in that genre of music they are not looking for the robotic effect. It is more of a more natural authentic type of sound they are looking for. But if it is a melodic rap type song then a fast retune speed would be more fitting for that hip-hop genre.
Optimize Flex Tune Settings
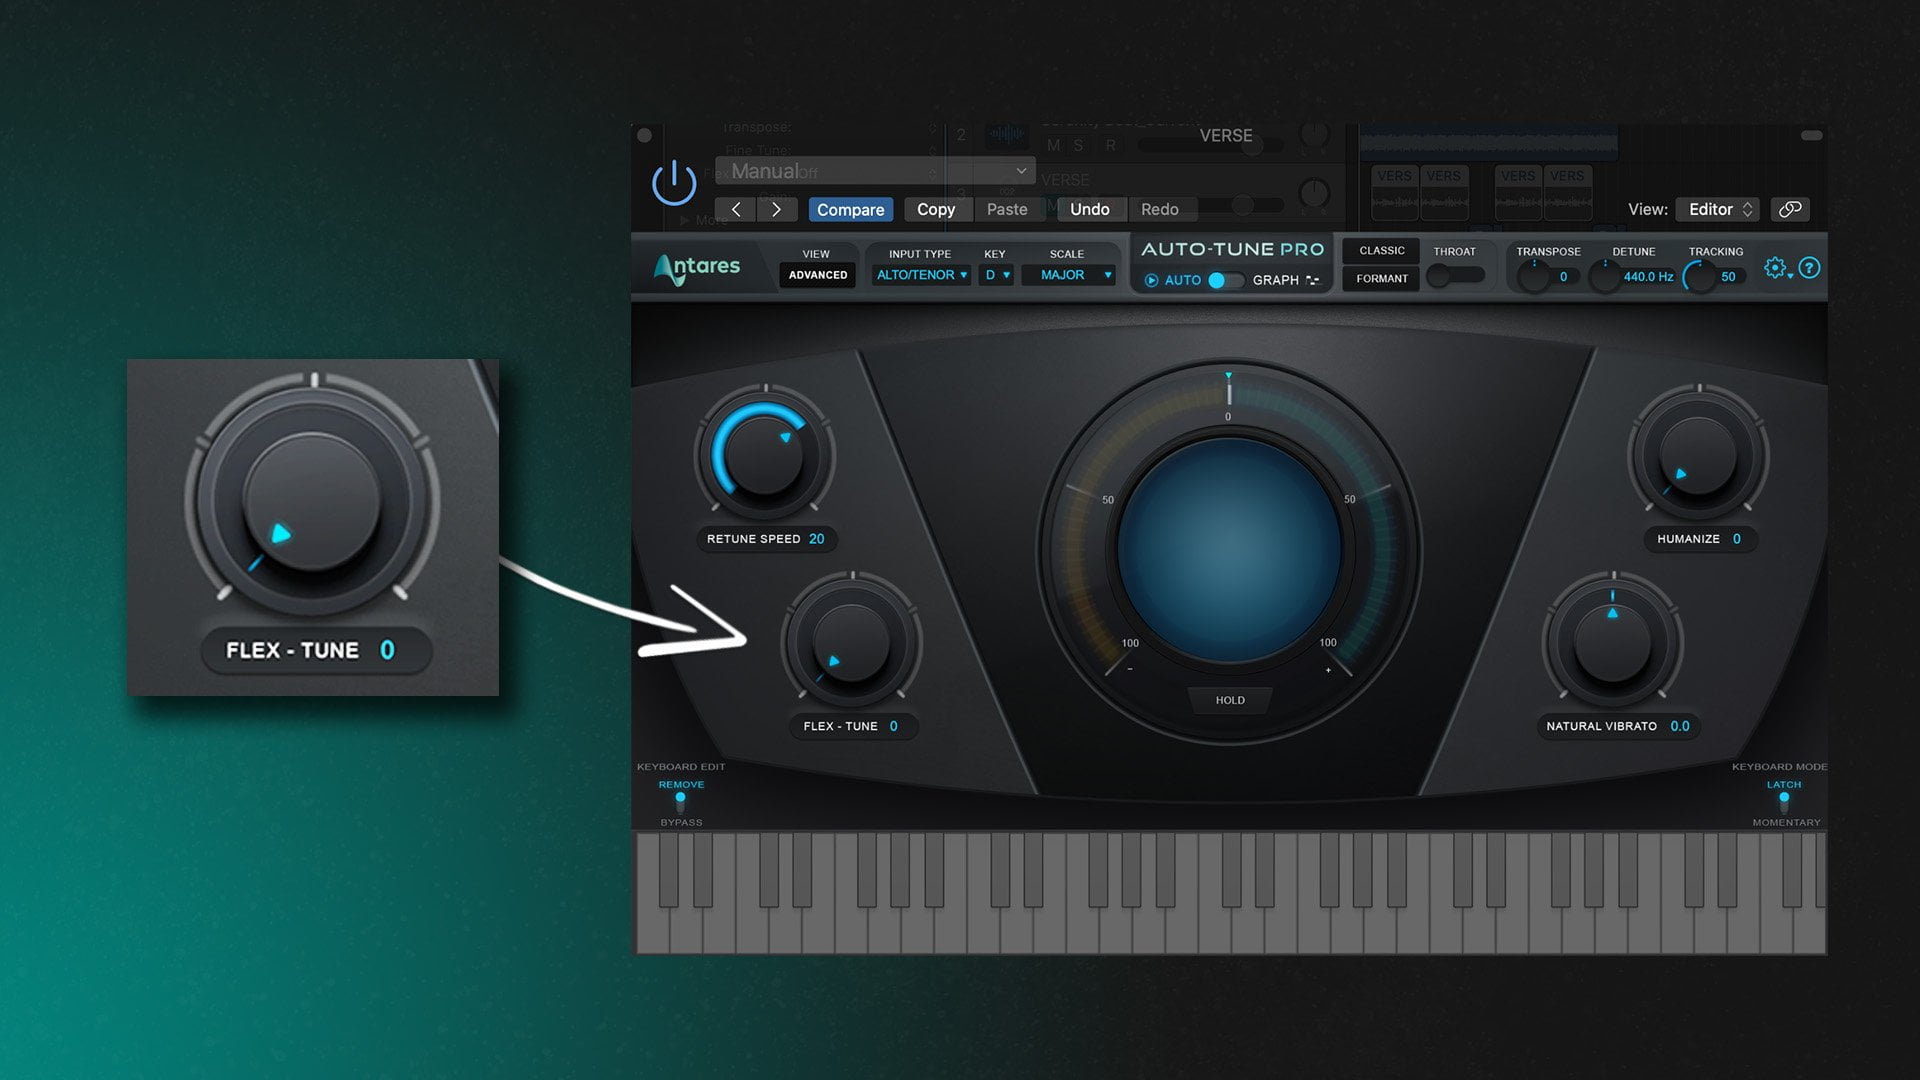
The “Flex-Tune” settings in Auto-Tune are used to control how much the software adjusts your pitch. Meaning, that when it is set to zero, the plug in will correct every instant of the incoming vocal or instrument. Thus changing the way the plugin interacts with the voice allows you to preserve the natural expressive character in the vocal performance.
So as you increase the value greater, the corrected area around the targeted note gets smaller, and more expressive pitch variation which gives a more natural humanizing effect.
Apply Vibrato
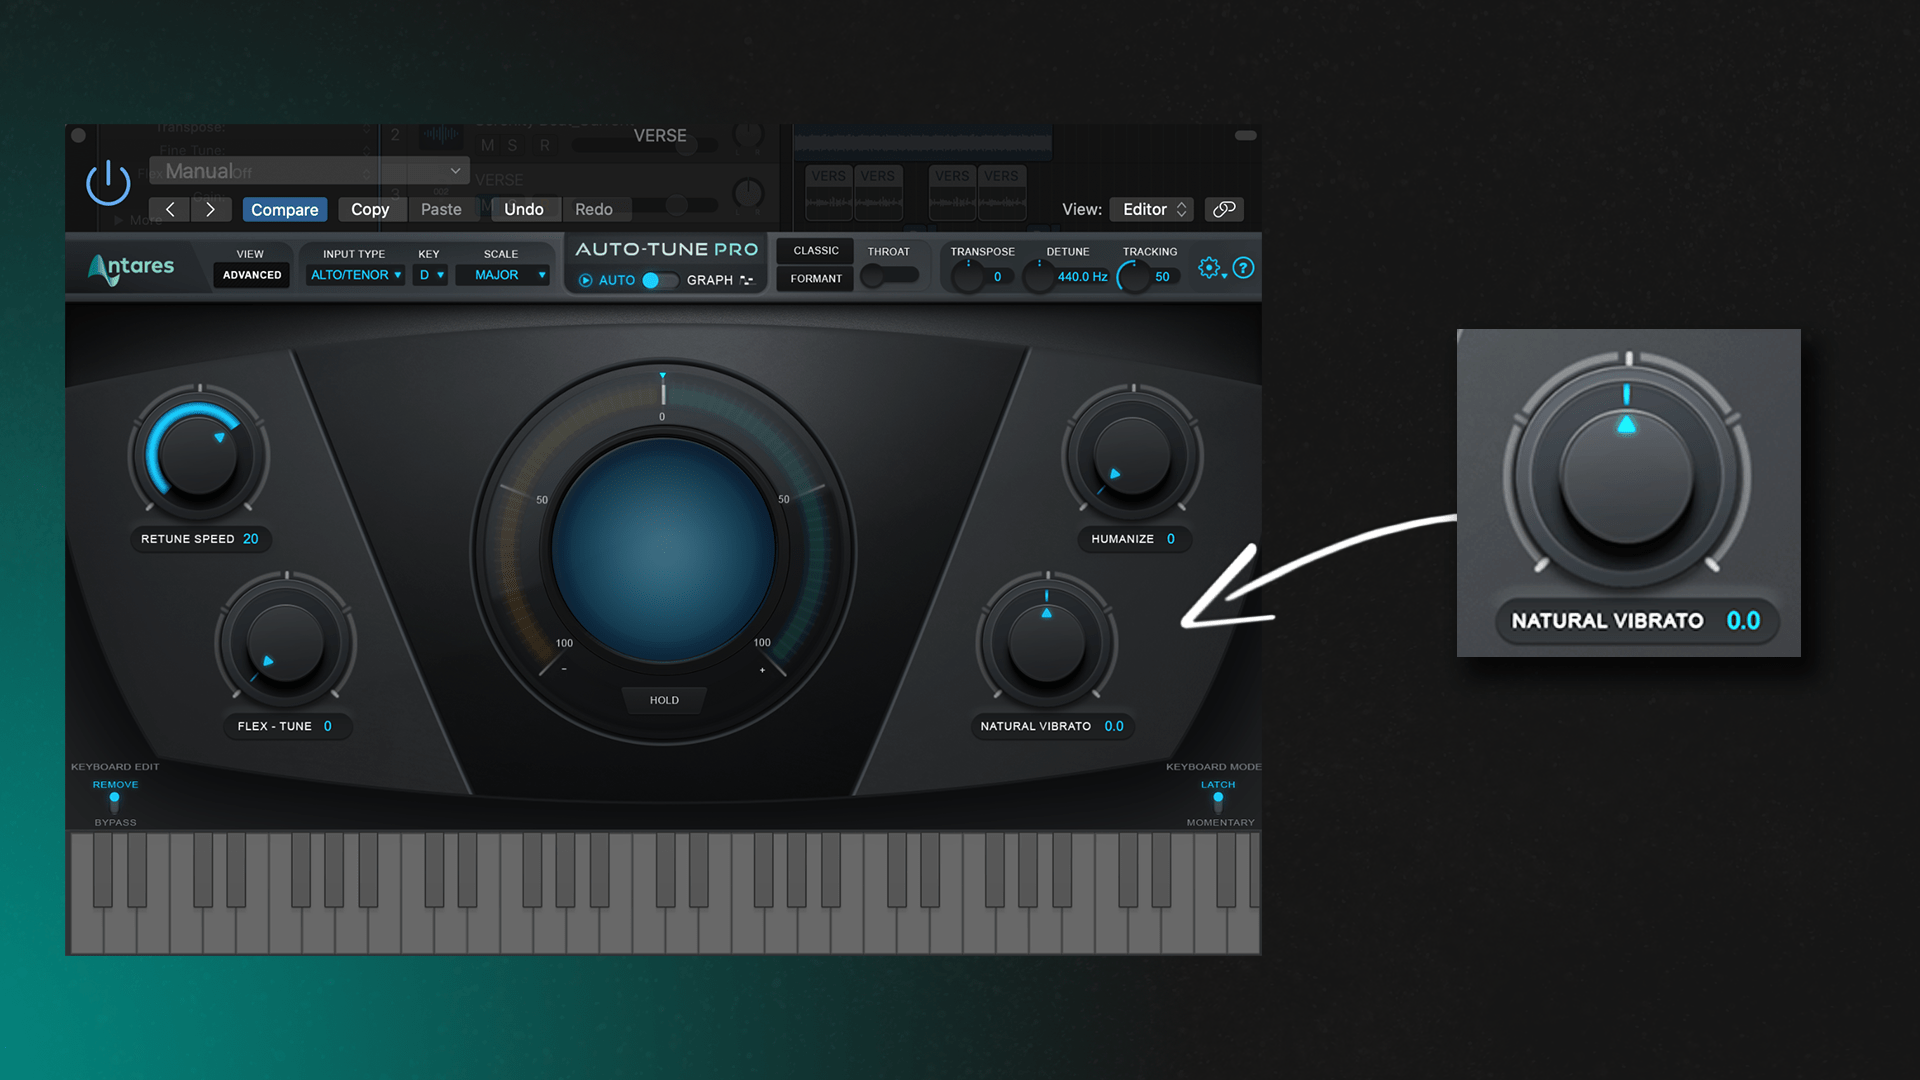
The “Vibrato” setting in Auto-Tune is used to add or subtract vibrato in your voice. Vibrato is a technique that singers use to add emotion to their voices. This parameter in default is usually set to zero. If you want to add vibrato to your voice, bring the value up. Vice versa, if you want less vibrato, turn the option down to smoothen out the effect.
Try Humanize option
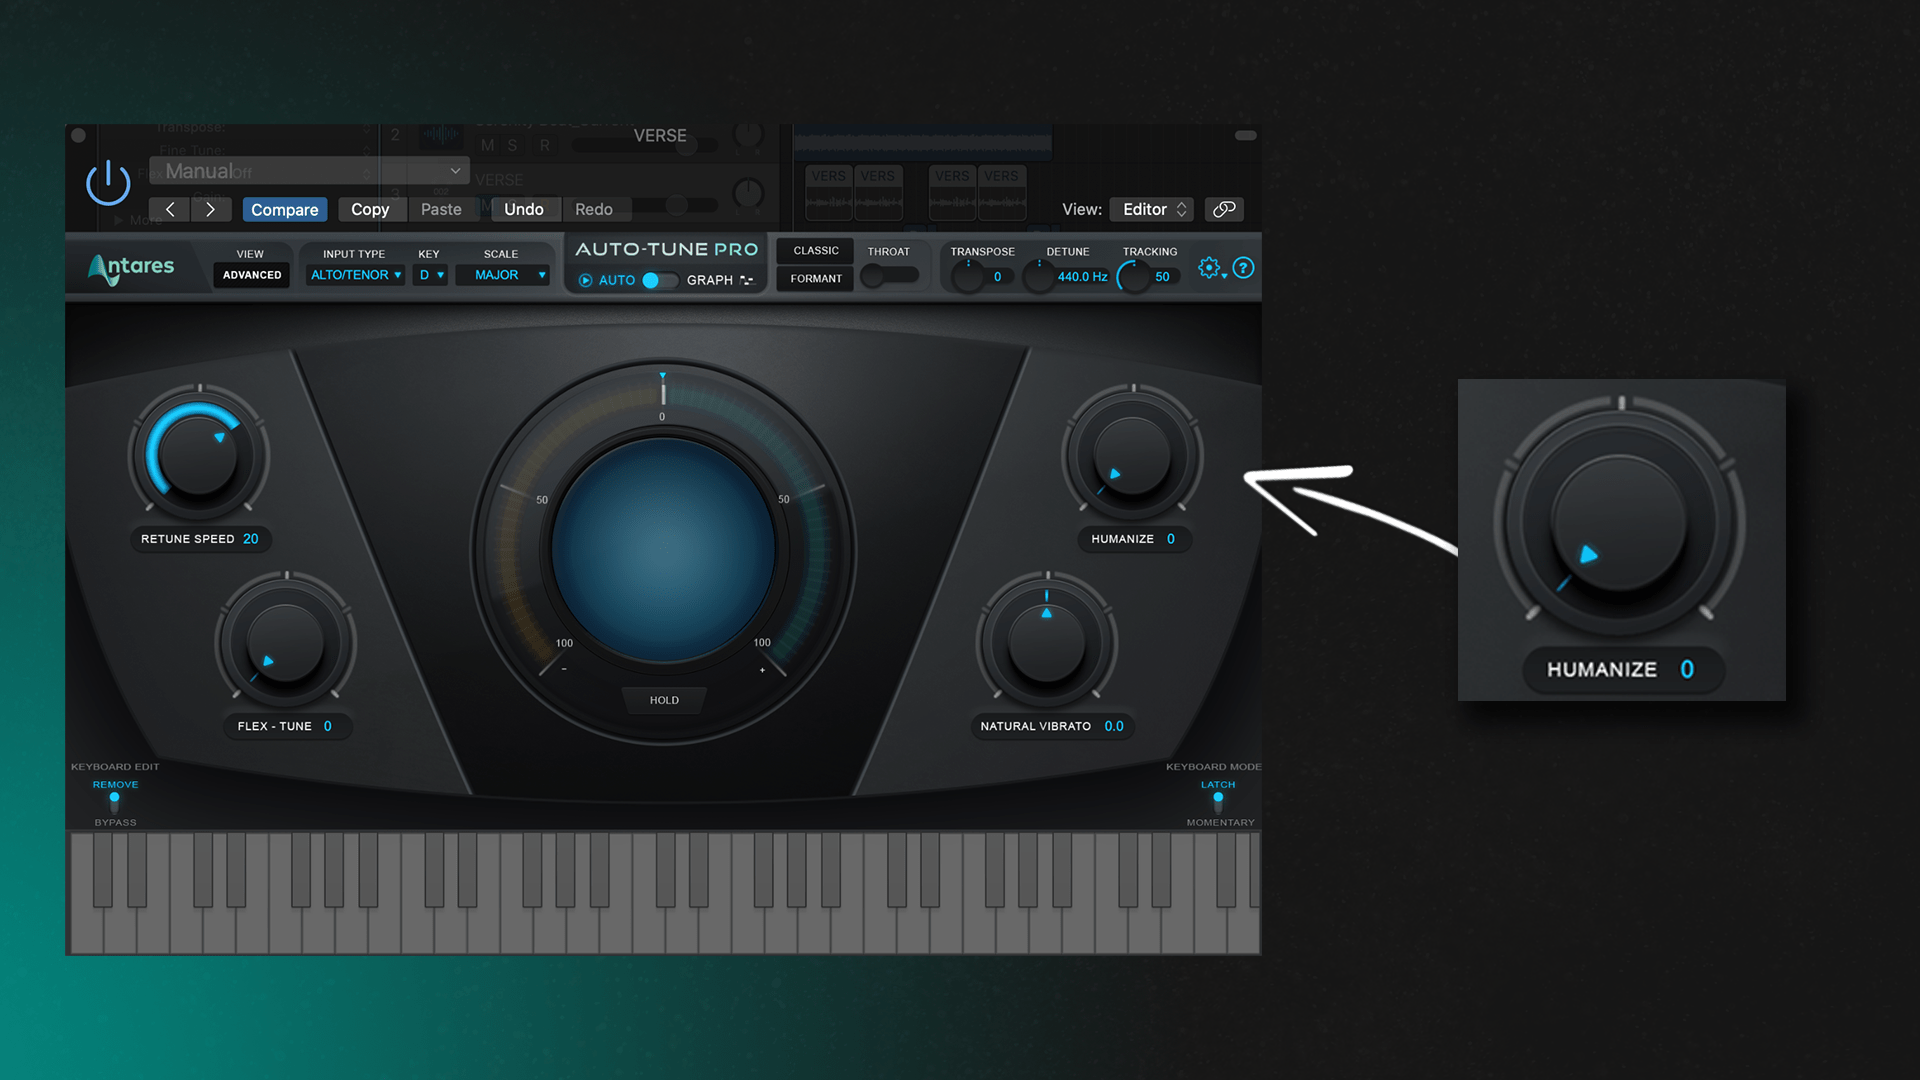
The “Humanize” setting in Auto-Tune is used to add a more natural sound to your voice. It does so by sustaining the endings of notes on faster retune speeds. This setting starts on zero so turn this up slowly to achieve an authentic and more natural-sounding vocal. If you’re not happy with the sound of your voice, then you should try increasing the Humanize setting.
Choose your scale at The Edit Scale Display in Advanced mode
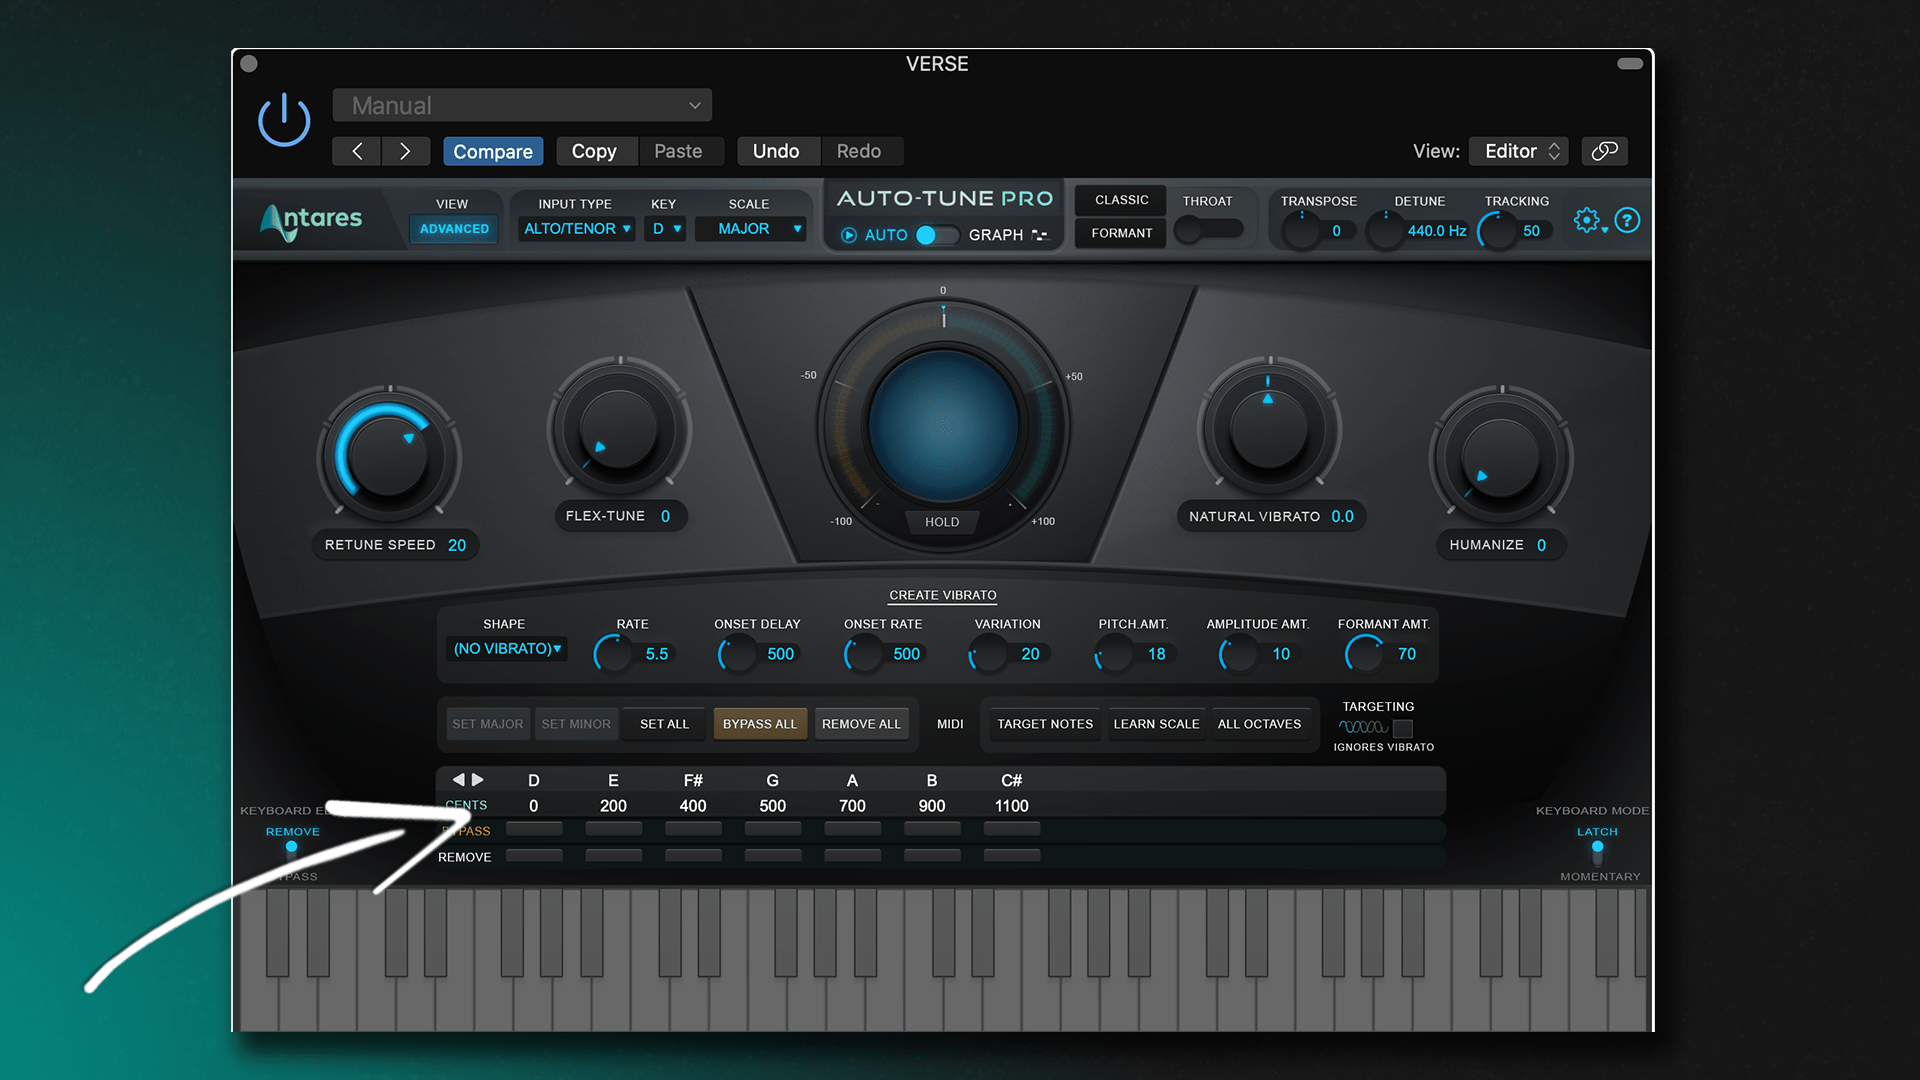
The “Edit Scale” display in Auto-Tune is used to choose the right scale for your voice. If you’re not sure which scale to use, then you can try experimenting with different scales until you find one that sounds good.
Tips for getting the most out of Auto-tune software
Here are some tips that you should keep in mind when using Auto-Tune:
1. Use the right settings: Depending on the type of music you are making, you will need to adjust the Auto-Tune settings. For example, if you are making rap music, you will want to use a higher pitch setting.
2. Don’t overuse it: Using too much Auto-Tune can make your music sound unnatural and robotic. Use it sparingly and only when necessary.
3. Experiment: Don’t be afraid to experiment with the Auto-Tune settings to see what sounds best for your particular song or style of music.
4. Stay in tune: One of the most important things to remember when using Auto-Tune is to stay in tune! If your vocals are off-key, the Auto-Tune will not be able to fix it.
5. Have fun: Making music should be fun, so don’t take yourself too seriously. Experiment and have fun with Auto-Tune!
Signature Sounds of Auto-Tune in the music industry
 The use of Antares Auto-Tune in the music industry has become extremely popular in recent years. Many artists use it to help them create their unique sounds. Auto-Tune is a software program that corrects pitch. It is also used to add special effects to voices and instruments.
Auto-Tune created an impact in pop music as well as hip hop music with musicians like T-Pain and Travis Scott using the plugin to create their signature sound.
Many people believe that the use of Auto-Tune ruins the human voice and makes a vocal track sound artificial and fake. However, some artists believe that it helps them to create new and unique vocal tracks. Auto-Tune is here to stay and will continue to be used by many artists in the music industry.
Final Thoughts
Auto-tune can be a helpful tool for both singers and instrumentalists who want to make sure their performances are in tune, or for those who want to create special effects with their voices or instruments. When used correctly, it can help to create a more polished recording or performance. However, it is important to note that Auto-tune is not a magic wand that will make everything perfect. It is still important to practice and have a good ear for pitch in order to create the best results.